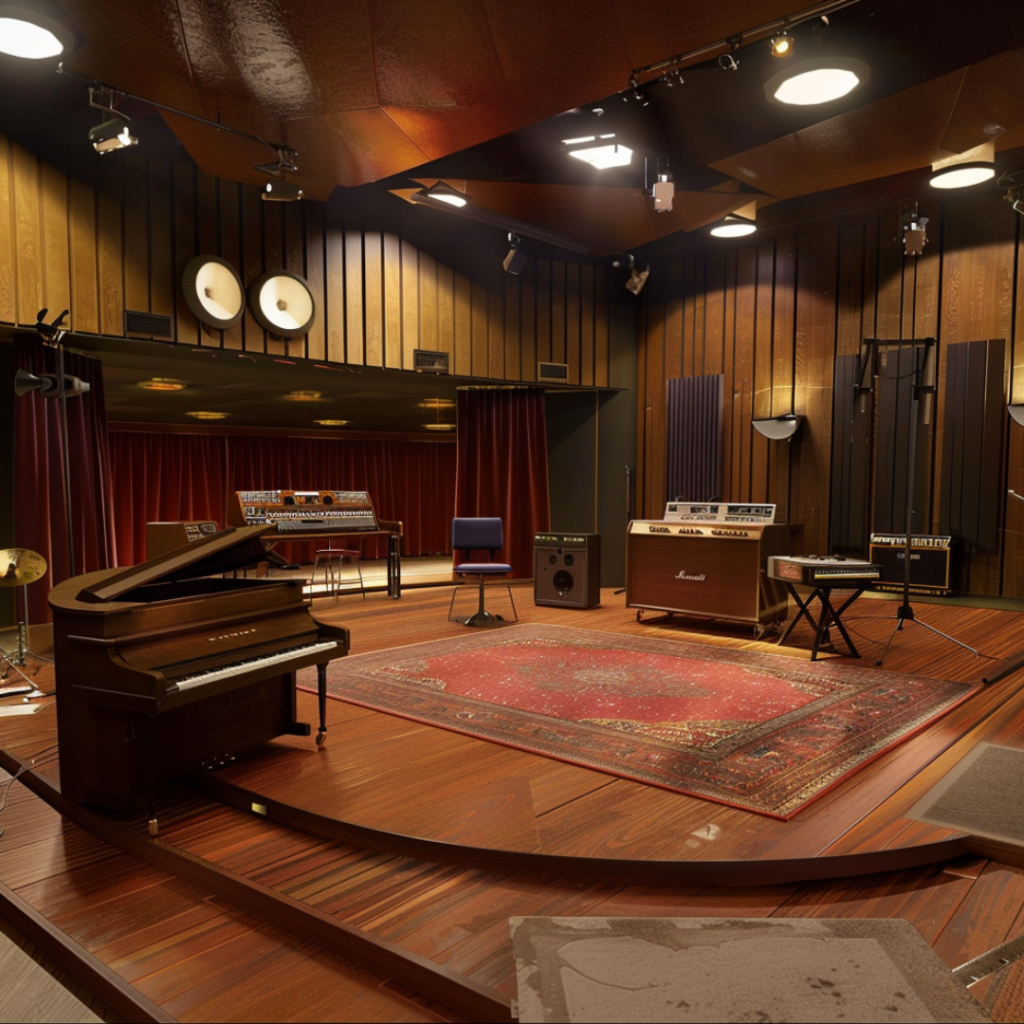
Whether you’re a musician, podcaster, sound engineer, or content creator, understanding the importance and principles of acoustic treatment can make a huge difference in the quality of your final work.
In the realm of audio production, studio acoustic treatment is often a neglected yet essential aspect. In this article, we will explore the importance of studio acoustic treatment, how it works, and the different methods available.
1. Understanding How Acoustic Treatment Works
Acoustic treatment relies on principles of sound physics. It works by using absorbent materials to reduce reverberation and control unwanted sound reflections within a given space.
These materials absorb some of the energy of sound waves, thus converting acoustic energy into thermal energy. Additionally, acoustic diffusers scatter sound waves in different directions to create a more natural sound environment. Acoustic isolation is also essential for blocking sound from entering or exiting the space, requiring the use of insulation materials and special construction techniques.
By combining these techniques, acoustic treatment allows for control over sound quality and creates an optimal environment for various audio applications.
2. Why Is Studio Acoustic Treatment Necessary?
a. The Importance of Acoustic Treatment
Acoustic treatment is essential for reducing reverberation in a studio, improving recording clarity. Hard surfaces like walls and ceilings cause annoying sound reflections, harming audio quality. Installing absorbent panels or diffusers controls these reflections and balances the sound.
Acoustic treatment controls reflections, balancing the sound. Good treatment enhances the studio’s sound quality by reducing sound coloration, unwanted resonances, and resonance modes. By isolating the studio from external noises and vibrations, it ensures high-quality recordings. Moreover, an acoustically controlled environment creates a comfortable workspace for artists and sound engineers, fostering creativity and productivity.
b. The Acoustic Traps of Untreated Studios
A poorly acoustically treated studio can lead to issues such as unwanted resonances, excessive sound reflections, muddy low frequencies, and poor-quality recordings. These problems can alter the fidelity and clarity of the sound, thus compromising the quality of your work.
1. Resonances and Standing Waves
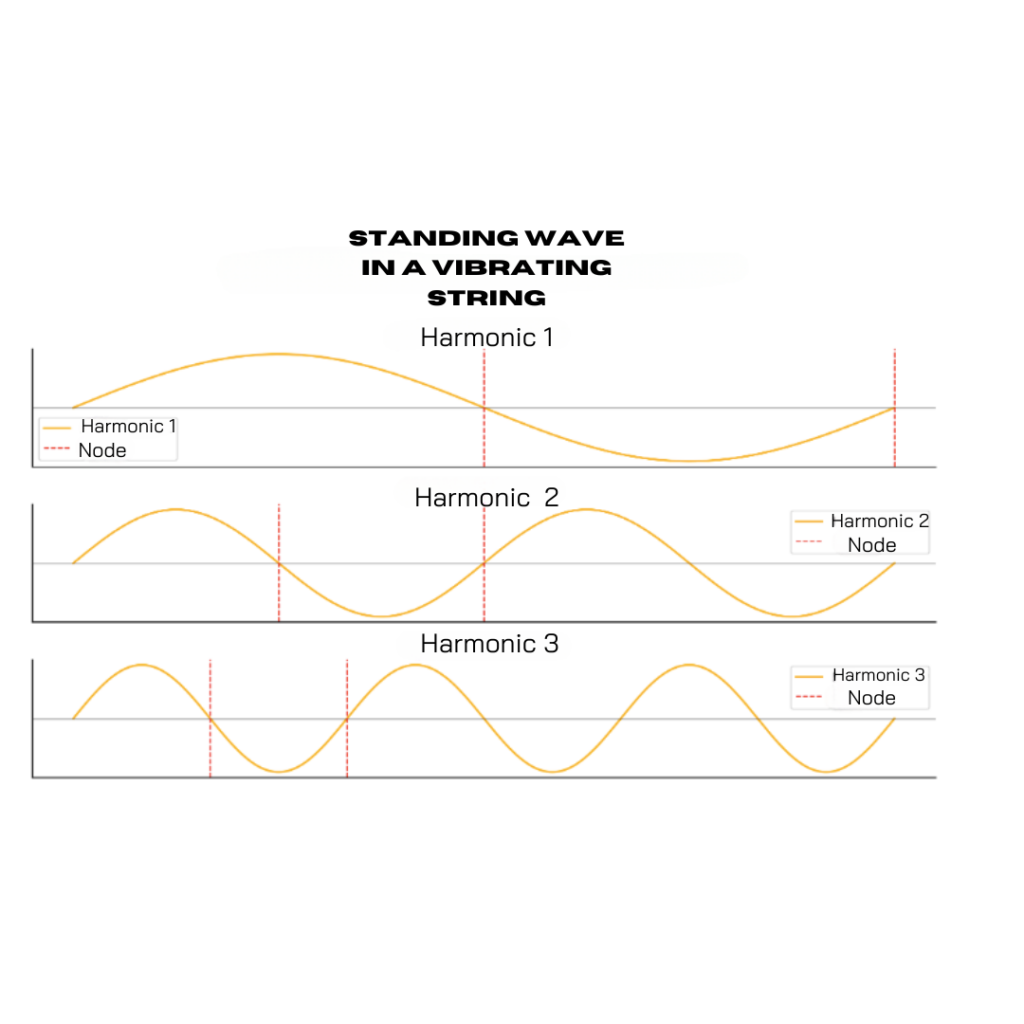
- Issues:
- Room Modes: Specific frequencies can amplify or cancel each other out due to the room’s dimensions, creating areas of over-amplified (boominess) or attenuated (nulls) bass.
- Nodes and Antinodes: Points in the room where certain frequencies are amplified or cancelled, affecting the clarity and accuracy of low frequencies.
- Impact:
- Poor Translation: Mixes done in untreated rooms don’t translate well in other listening environments.
- Sound Imbalance: Mixes may lack consistency, with poorly balanced low frequencies.
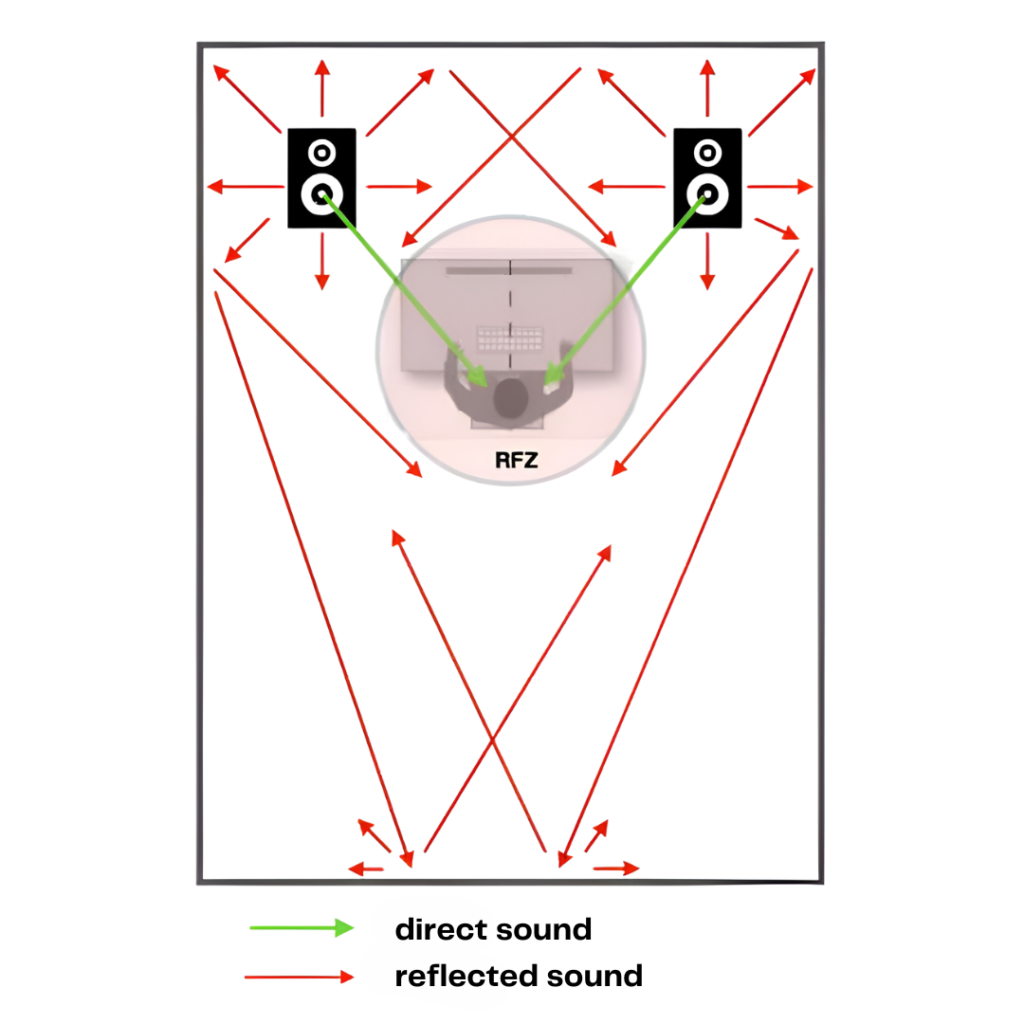
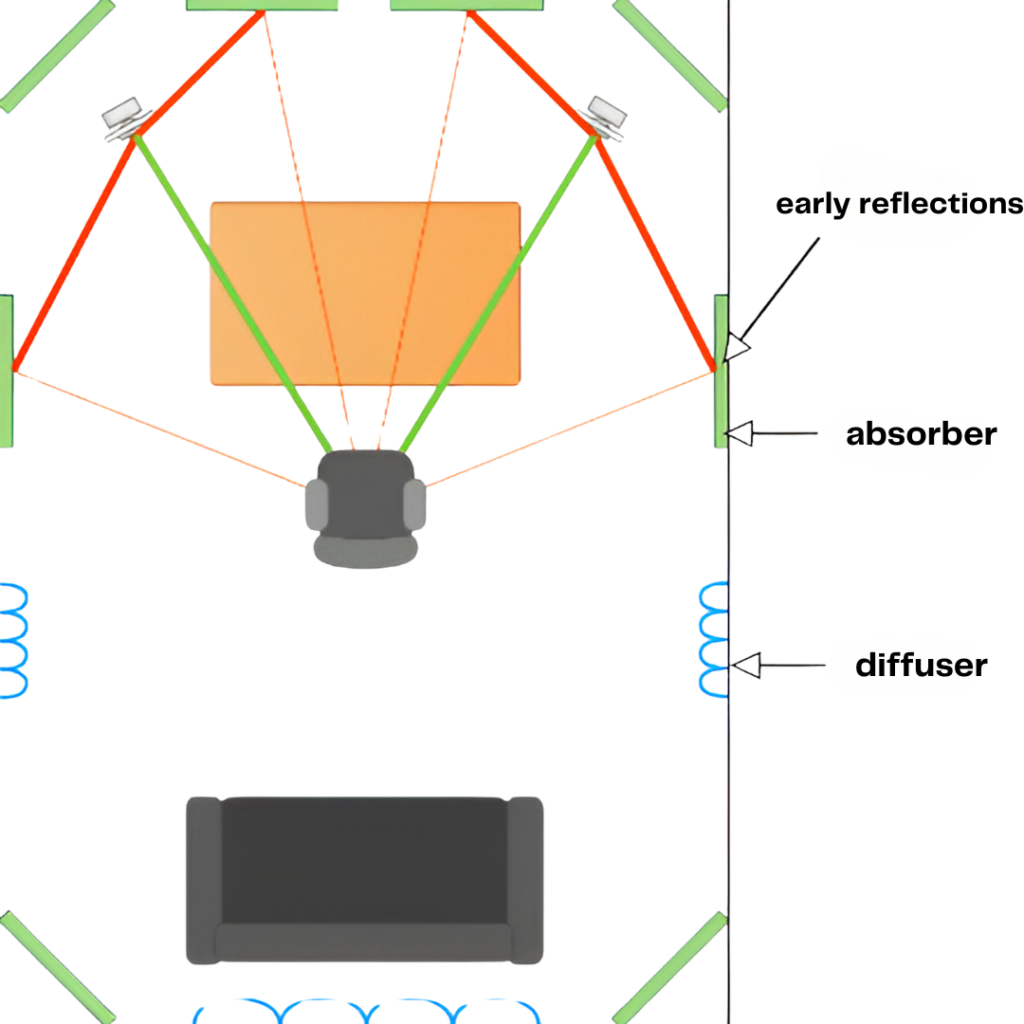
2. Early Reflections
- Issues:
- Echoes: Reflections from nearby surfaces like walls, ceiling, and floor can create early echoes.
- Comb Filtering: Destructive interference between the direct sound and its reflections, causing periodic variations in sound intensity.
- Impact:
- Distorted Stereo Image: Difficulty in properly placing instruments in the stereo field.
- Lack of Clarity: Muddy and indistinct sound, with details masked by parasitic reflections.
3. Flutter Echo
- Issues:
- Rapid Reflections: Quick back-and-forth of sound between two parallel surfaces creating a “bounce” sound effect.
- Metallic Effect: Metallic or “tinned” sound characteristic.
- Impact:
- Sound Coloration: Adds unwanted coloration to recordings, particularly noticeable in high frequencies.
- Auditory Fatigue: Fatiguing listening over extended periods.
4. Low-Frequency Issues
- Issues:
- Long Reverb: Low frequencies take longer to dissipate, creating long and unwanted reverb.
- Frequency Masking: Excessive low frequencies can mask mid and high frequencies.
- Impact:
- Muddy Mixes: Difficult to distinguish different tracks, making the mix sound blurry and confused.
- Lack of Definition: Details in the lows are lost, making it difficult to mix precisely.
5. Excessive Reverberation:
- Issues
- Reflective Surfaces: Too many untreated hard surfaces cause excessive reverberation.
- Lack of Control: Difficulty controlling the room’s natural reverb tail.
- Impact:
- Blurred Sounds: Sounds become blurred and lack precision.
- Loss of Detail: Recording and mixing details are masked by unwanted reverberation.
6. Lack of Sound Isolation
- Issues:
- Sound Leakage: Sound escapes from the room, or external noises penetrate the room.
- Parasitic Noises: Background noise and other unwanted sound nuisances.
- Impact:
- Polluted Recordings: Recordings contain unwanted noises.
- Disturbances: Interruptions during recording or mixing sessions.
Acoustic treatment aims to control these aspects to create an optimal environment where sound can be captured, mixed, and heard accurately.
3. Understanding Your Studio’s Geometry
a. Geometry: Basics
The geometry of your studio plays a crucial role in how sound behaves within it. The layout, shape, and dimensions of the room influence how sound waves propagate inside it. For example, parallel walls, right angles, and reflective surfaces can create undesirable resonances and reverberation modes, while irregular surfaces and oblique angles can help disperse sound more evenly.
Well-thought-out geometry can help minimize direct reflections, reduce excessive reverberation, and attenuate undesirable resonance modes. This can result in improved sound clarity, a more balanced frequency response, and overall enhancement of the room’s acoustics.
b. Your Studio’s Size
The size of the room in a recording studio plays a crucial role in sound quality and presents specific challenges for both large and small rooms.
– Large rooms
- Advantages:
- Ample Space: Allows for better sound diffusion, reducing the risk of severe resonances.
- Flexibility in Layout: More possibilities for installing acoustic panels, bass traps, and diffusers.
- Natural Reverb: Greater ability to control natural reverb, offering richer and more lively acoustics.
- Challenges:
- Excessive Reverb: Large rooms can result in overly long reverb, making the sound blurred and imprecise.
- Complex Room Modes: Multiple resonance modes, requiring complex acoustic treatment to balance all frequencies.
- Treatment Costs: More expensive to acoustically treat due to the large surface area to cover with absorbing and diffusing materials.
- Flutter Echoes: The presence of distant parallel surfaces can generate flutter echoes, creating unpleasant sound rebounds.
- Solutions:
- Bass Traps: Install bass traps in the corners to control low frequencies.
- Absorbing Panels: Use absorbing panels on walls and ceiling to reduce excessive reverb.
- Diffusion: Add diffusers to break up reflections and create more uniform acoustics.
- Addressing Flutter Echoes: Use absorbers and diffusers on parallel surfaces to eliminate flutter echoes.
– Small Rooms
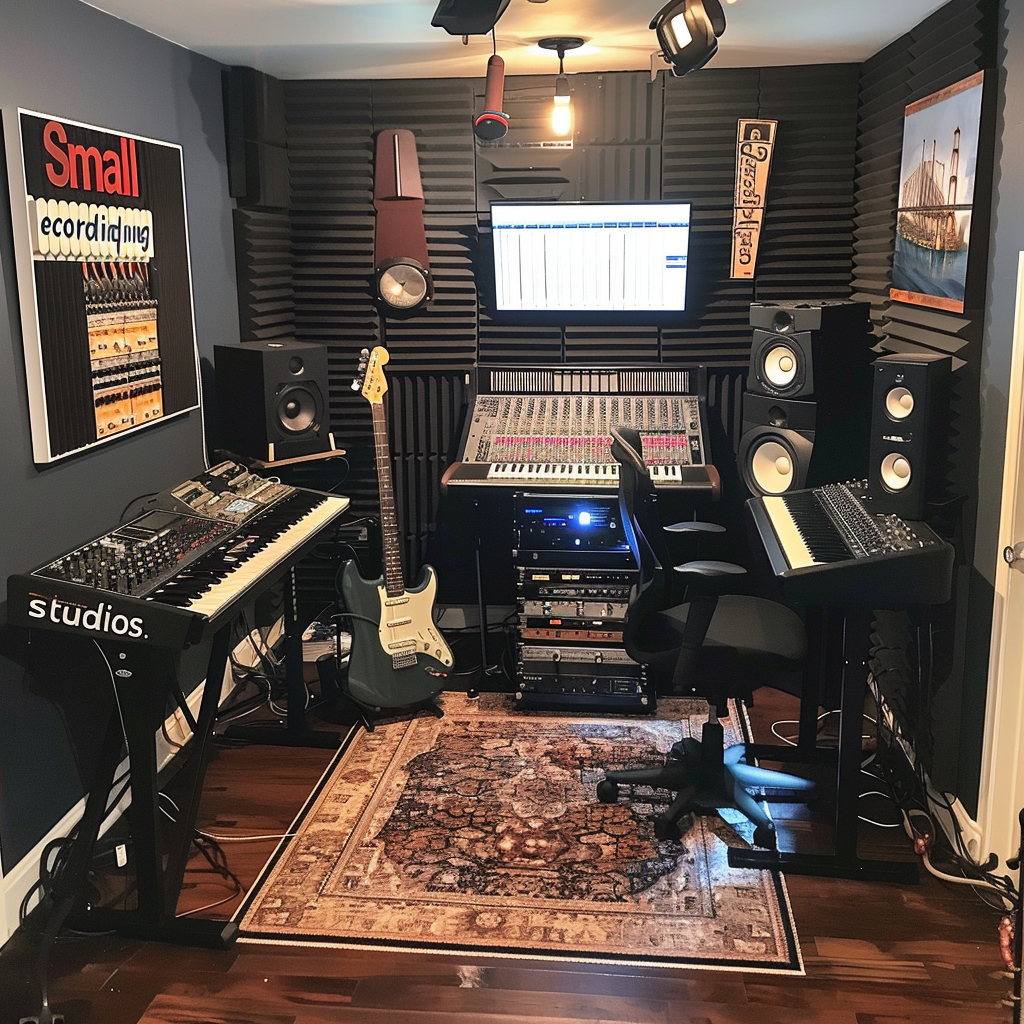
- Advantages:
- Reverberation Control: Easier to control reverberation with fewer acoustic materials.
- Reduced Cost: Less materials needed for acoustic treatment, reducing costs.
- Quick Installation: Faster and easier to install necessary acoustic treatments.
- Challenges:
- Pronounced Resonances: Small rooms often suffer from more pronounced low-frequency resonances due to reduced dimensions.
- Early Reflections: Close walls create intense early reflections, affecting sound clarity.
- Boxy Sound: Sense of acoustic confinement, where sounds may feel muffled and lacking depth.
- Limited Diffusion: Less space for installing diffusers, limiting natural sound diffusion and making mid and high-frequency treatment more challenging.
- Solutions:
- Absorbent Panels: Place absorbent panels at primary reflection points (on side walls, ceiling, and behind monitors).
- Bass Traps: Install bass traps to control low-frequency resonances, particularly in the corners.
- Broadband Absorption: Use broadband absorption materials to cover a wide range of frequencies.
- Rearrangement: Optimize furniture and equipment layout to minimize undesirable reflections.
c. Materials Used: Room Treatment
The selection of construction and acoustic treatment materials is important in creating an optimal sound environment in a recording studio. Each material has specific acoustic properties that affect how sound is reflected, absorbed, or diffused.
– Concrete: It provides good sound insulation, preventing external noises from entering the studio. Highly reflective, it can lead to unwanted echoes and reverberations without proper treatment. Effectively blocks external noises but requires internal acoustic treatment to manage reflections. Absorbent panels may be needed to control excessive reverberation.
– Wood: Wood can absorb certain frequencies while diffusing others, offering a natural and warm acoustic environment. It is used for wall panels, floors, and acoustic decorative elements, adding natural warmth and richness to recordings. Compared to concrete, it allows for more balanced reflection management.
– Gypsum Boards: Absorbs some mid-range frequencies but requires additional treatment for low and high frequencies. Commonly used for partitions and ceilings, it is relatively easy to install and modify. It is often combined with additional absorbent materials for optimal acoustics.
– Tile: Tiles reflect sound, leading to reverberations and echoes. Although durable and easy to clean, they make the sound blurry and less precise. Multiple reflections can make the sound environment difficult to control, especially for sensitive recordings. Absorbent panels and carpets are needed to manage these issues.
– Carpets: More absorbent than tiles, reducing reflections and reverberation. Effective for mid-range and high frequencies, they add comfort and thermal insulation. By decreasing sound reflections, they improve sound clarity, especially for vocal and acoustic recordings. Although less effective for low frequencies, they can be paired with bass traps for complete spectrum sound management.
4. Methods and Materials for Acoustic Treatment
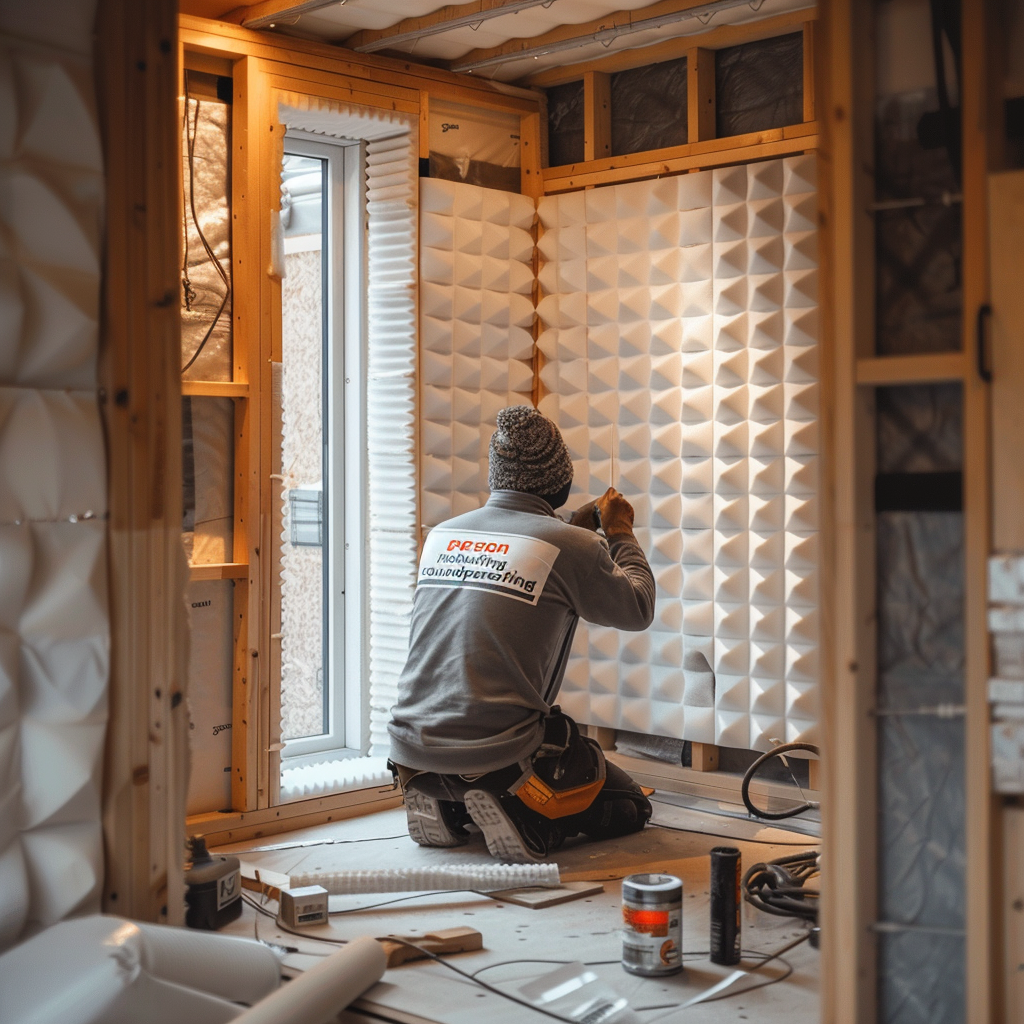
There are several methods for acoustically treating a studio, each suited to specific needs. This can include the installation of absorbent panels on the walls, the use of diffusers to disperse sound reflections, or even the construction of bass traps to control low frequencies. The choice of methods will depend on the size of your studio, its configuration, and your sound objectives.
a- Acoustic Treatment Methods
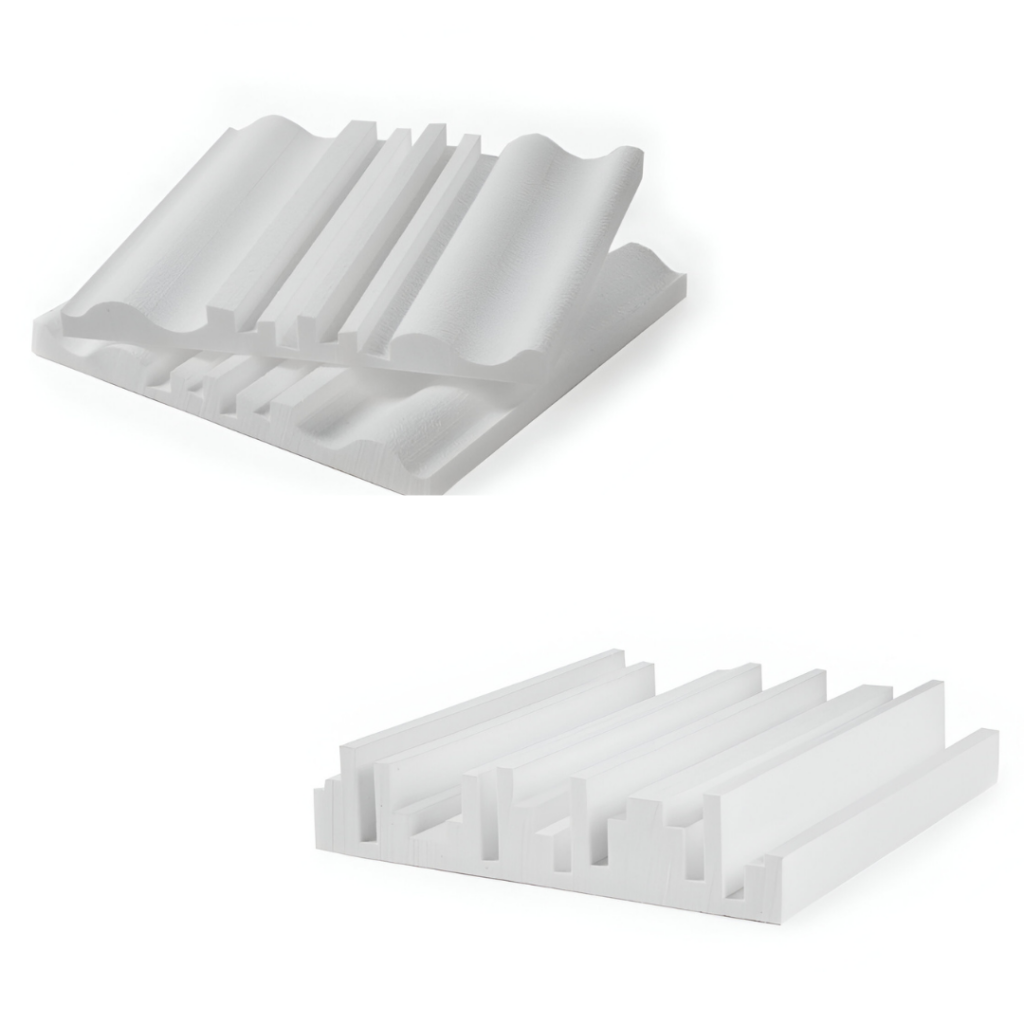
- Acoustic Absorption: This method involves using absorbent materials to reduce reverberation and unwanted sound reflections inside the studio. Acoustic panels, bass traps, acoustic curtains, and baffles can be used to absorb sound waves and improve sound clarity.
- Acoustic Diffusion: Diffusion is used to disperse sound waves more uniformly throughout the room, thereby reducing direct reflections and creating a more natural sound. Acoustic diffusers, such as slatted panels, quadratic residue diffusers, or Schroeder diffusers, are used to scatter sound waves in various directions.
- Acoustic Isolation: Acoustic isolation aims to prevent sound from entering or leaving a given space. This can be achieved by using soundproofing materials in walls, ceilings, and floors to block sound transmission. Acoustic doors and soundproof windows can also be installed to enhance acoustic isolation.
- Resonance Mode Correction: Resonance modes are specific frequencies where sound waves reinforce or cancel each other out, creating areas of sound reinforcement or attenuation in the room. The use of bass traps, stretched membranes, or porous materials can correct these resonance modes, ensuring a more balanced frequency response.
b- Acoustic Treatment Materials
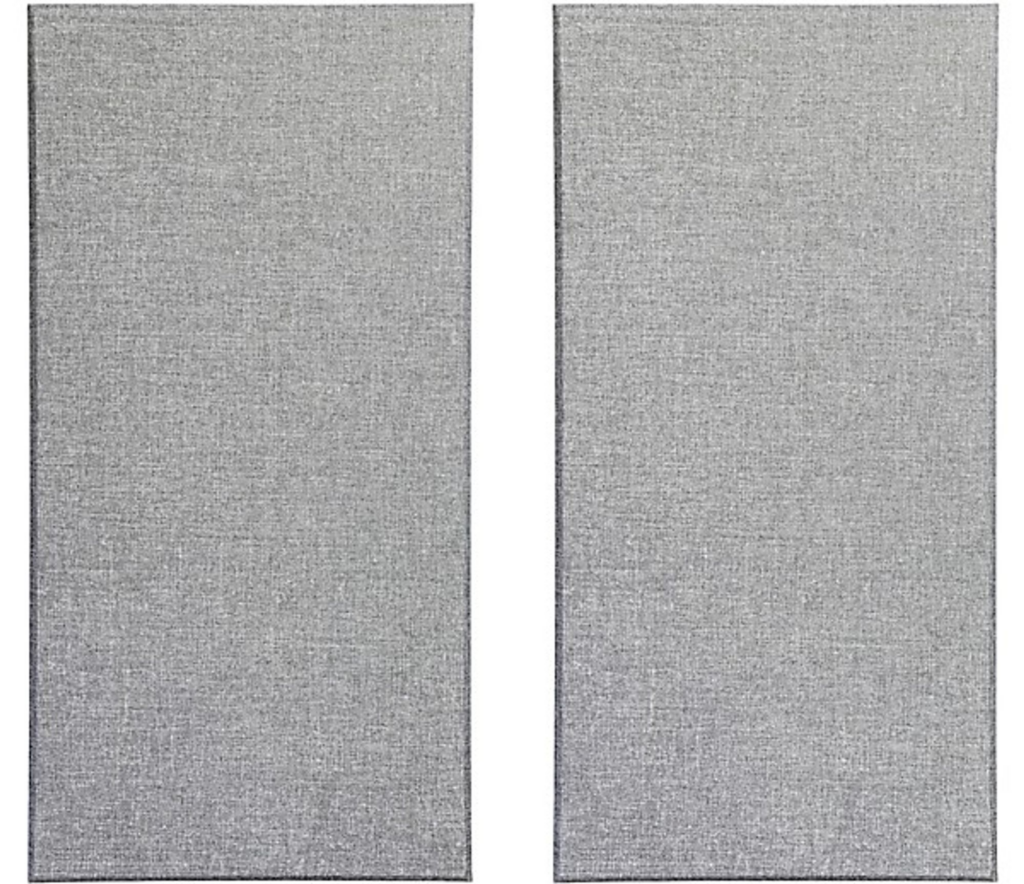
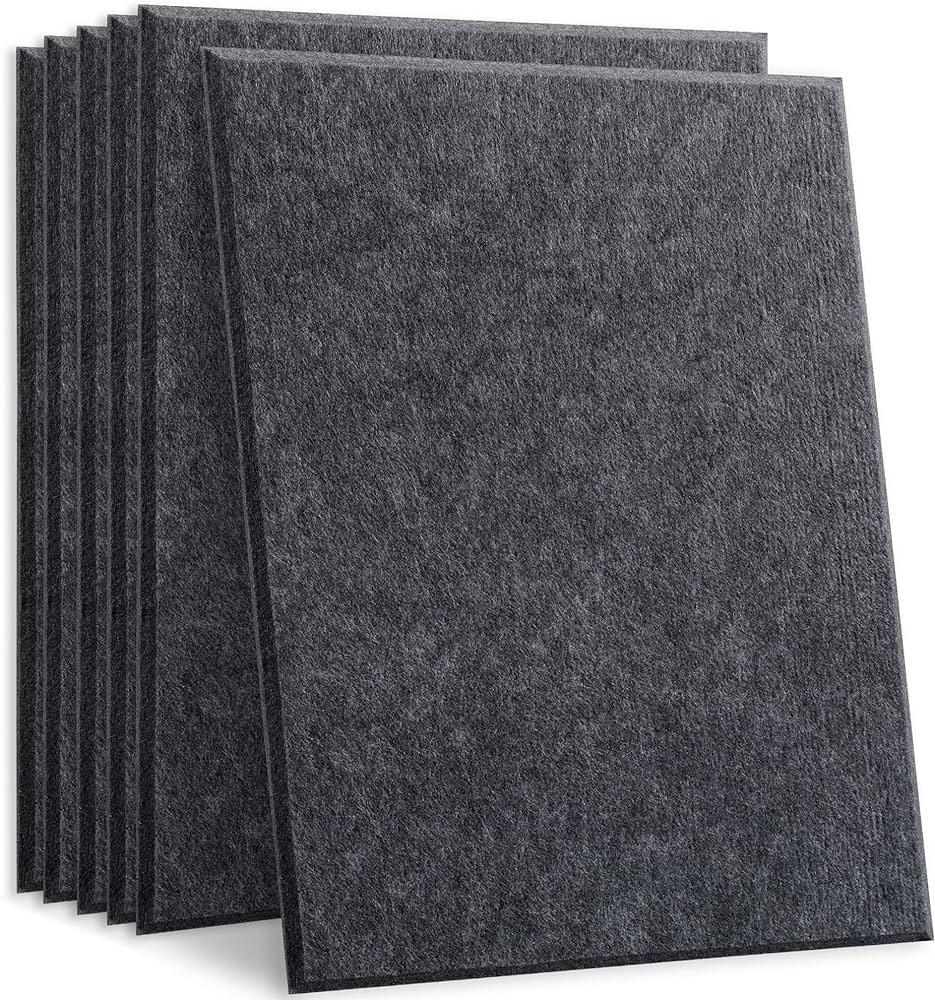
1. Absorption Panels
– Materials
- Acoustic Foam: Lightweight, easy to install, available in different shapes and thicknesses.
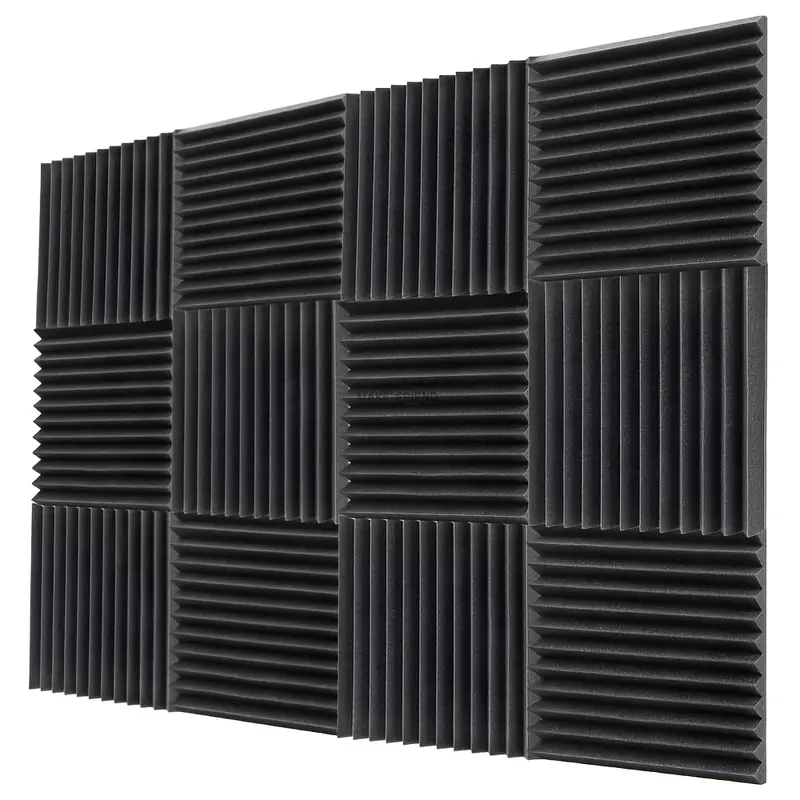
- Fiberglass and Rockwool: Highly effective for broadband absorption, often covered with fabric.
– Impact on Sound Production: Reduces echoes and reflections, improving sound clarity. Balances the frequency spectrum, particularly mid and high frequencies.
2. Bass Traps
– Materials:
- Dense Foam: Used in corners to absorb low frequencies.
- Fiberglass: Effective for capturing deep bass frequencies.
– Impact on Sound Production: Reduces low-frequency resonances, avoiding boominess and unwanted room modes. Allows for more accurate reproduction of bass frequencies.
3. Diffuseurs
– Materials
- Wood: Commonly used for its ability to evenly diffuse sound waves.
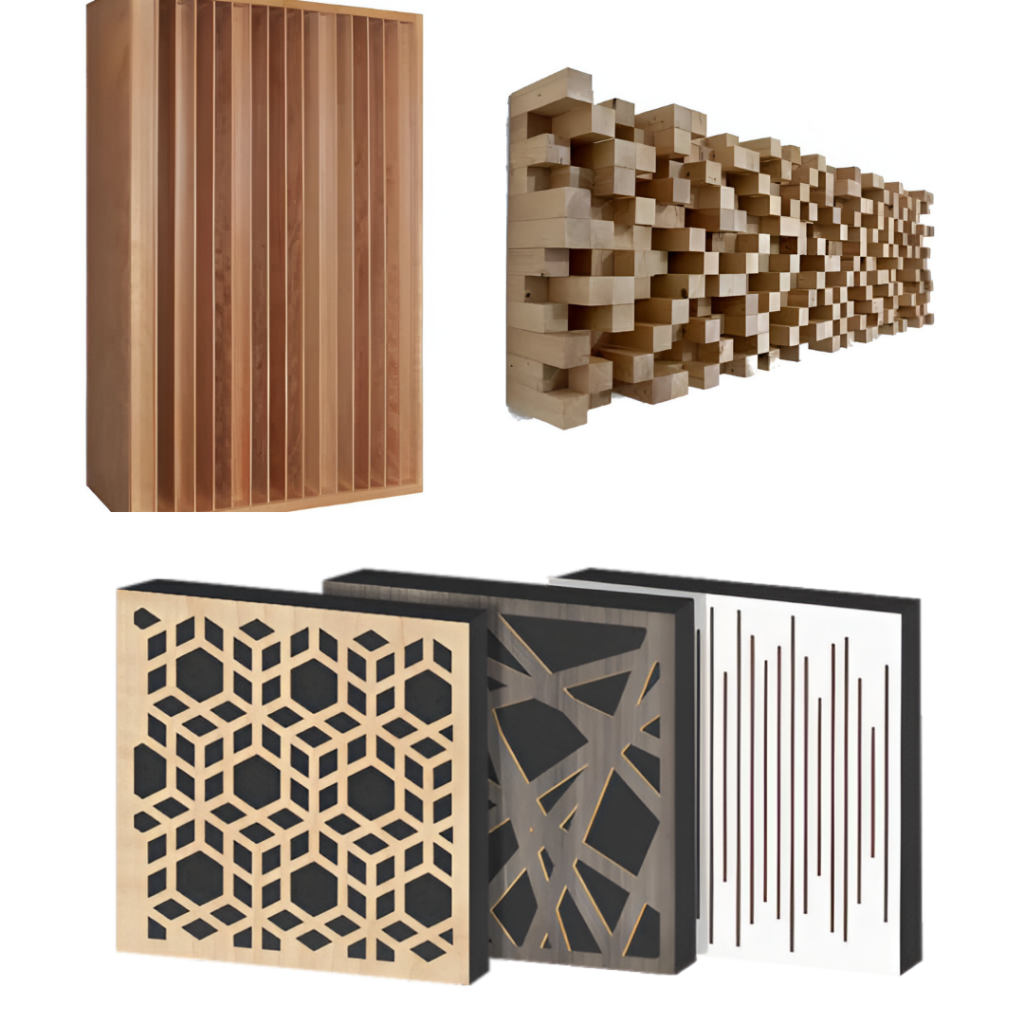
- Plastic and Polystyrene: Lightweight and cost-effective alternatives.
– Impact on Sound Production: Breaks up concentrated sound reflections, creating a more balanced sonic ambiance. Helps create a more natural and detailed soundstage.
4. Acoustic Isolation
– Materials
- Insulating Foam: Used to fill wall cavities and ceilings.
- Double Wall Construction: Two layers of walls separated by an air gap to reduce sound transmissions.
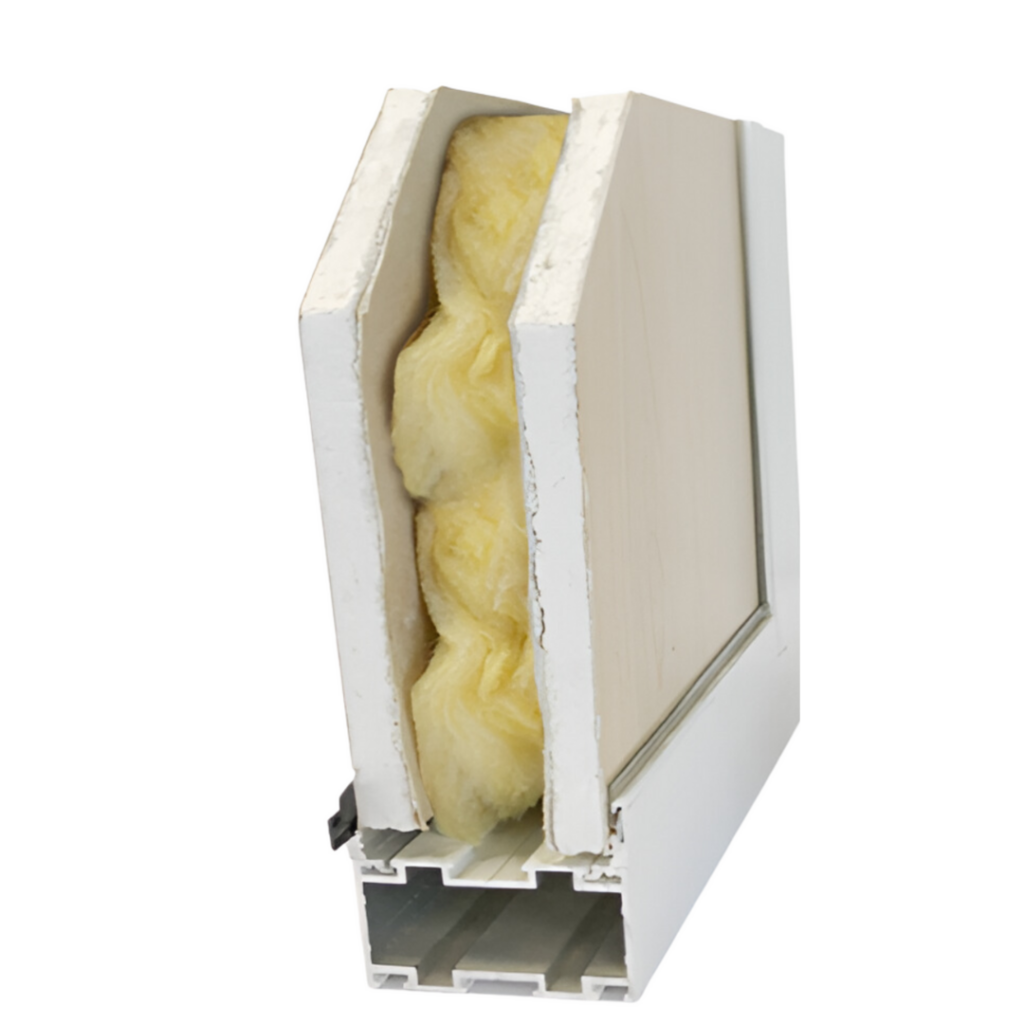
– Impact on Sound Production: Prevents external noises from entering and internal sounds from escaping. Creates a quiet working environment, crucial for high-quality recordings.
By judiciously combining these materials, one can create an acoustically controlled environment conducive to high-quality sound production. A well-designed acoustic treatment addresses resonance, reflection, and diffusion issues, ensuring that each recording and mix is as accurate and faithful as possible.
5. Additional Resources
If you wish to deepen your knowledge on studio acoustic treatment, here are some books that go into more detail on the subject: