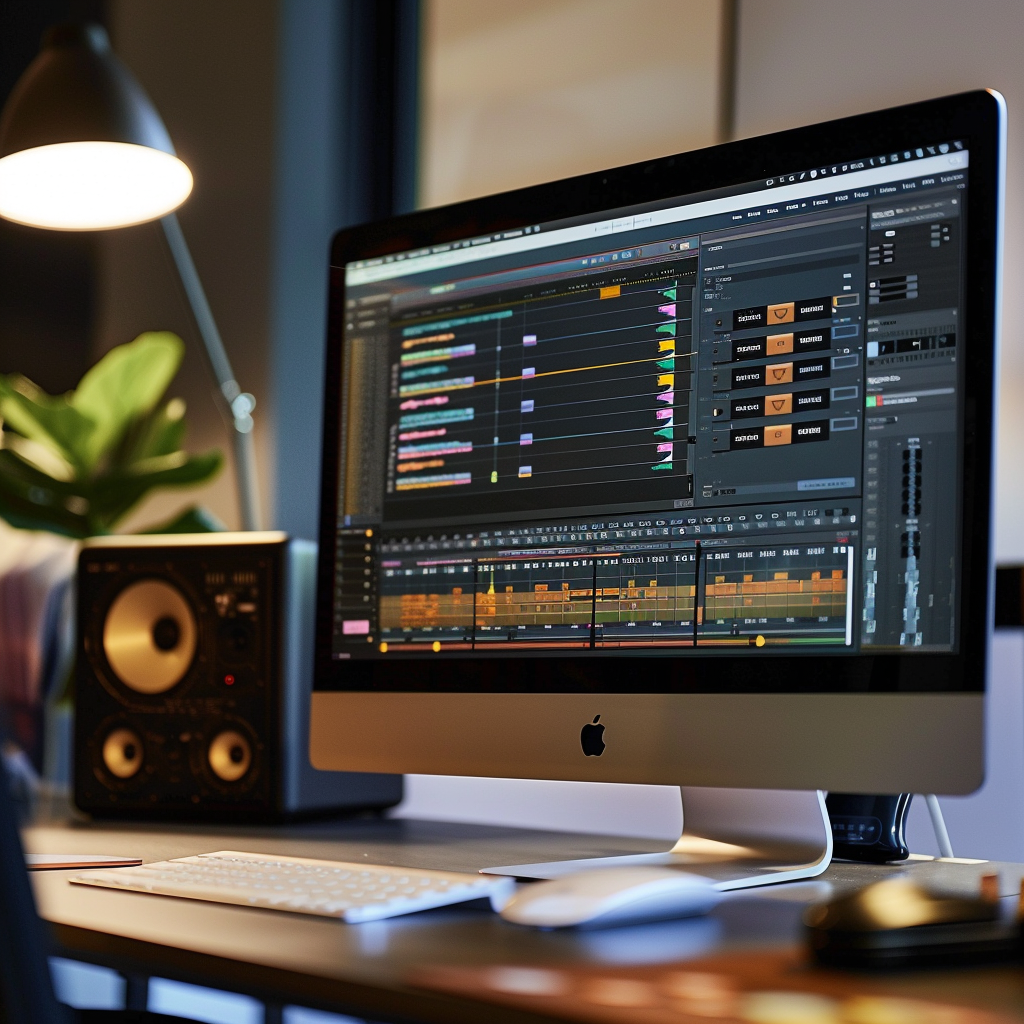
So, you’ve spent countless hours crafting that perfect track. You’ve poured your heart and soul into every beat, every melody, every lyric. But before you hit that upload button or send it off to be heard by the world, there’s one crucial step you can’t afford to skip: mastering.
1. WHAT IS MASTERING?

Mastering is the final step in the music-making process where a trained engineer (or sometimes the producer themselves) fine-tunes your track to make it sound its best across all speakers and devices. It’s like giving your song a professional makeover.
Think of it as the quality control phase, where every aspect of your song, from its volume to its clarity, is carefully adjusted to ensure it’s ready for the world to hear. Mastering ensures that your song sounds consistent and polished, whether it’s played on headphones, car speakers, or a big sound system in a club.
Traditionally, mastering was done by specialized engineers in dedicated studios, but nowadays, many producers also take on the mastering process themselves, using software and plugins to achieve professional results. It’s become an essential skill for any musician or producer looking to take their music to the next level.
2. WHY DO YOU NEED TO MASTER YOUR TRACKS?

Imagine this: you’re listening to your favorite playlist, and suddenly, a poorly mastered track comes on. It’s either too quiet, too loud, or just sounds off compared to the rest. Frustrating, right? That’s why mastering is crucial. It ensures your song sounds consistent, balanced, and professional, regardless of where or how it’s played—be it on headphones, car speakers, or a massive sound system at a club.
3. HOW TO GET STARTED WITH MASTERING

So, what exactly happens during the mastering process? The mastering engineer (or you, if you’re doing it yourself) listens to your track with fresh ears and makes subtle adjustments to enhance its overall sound.
These adjustments might include tweaking the volume levels to ensure a consistent listening experience, fine-tuning the equalization (EQ) to balance the frequencies just right, adding a touch of compression to control the dynamics and make everything sound more cohesive, and adjusting the stereo imaging to create a sense of depth and space.
The goal is to bring out the best in your music while staying true to your artistic vision. It’s all about making those final tweaks that take your song from sounding good to sounding great. And with a bit of practice and the right tools, you’ll be well on your way to mastering your tracks like a pro.
1. UNDERSTAND THE TOOLS: Before going into mastering, it’s essential to understand the tools of the trade. Each tool serves a specific purpose in enhancing the overall sound of your track. Here’s a breakdown of the key tools used in mastering:
– Equalization (EQ): EQ allows you to adjust the balance of frequencies within your song. You can boost or cut specific frequency ranges to improve clarity, balance, and tonal richness. For example, you might use EQ to brighten up vocals, tame harsh frequencies, or add warmth to a mix.


– Compression: Compression helps control the dynamic range of your track by reducing the volume of louder parts and boosting quieter sections. This creates a more consistent and cohesive sound, making your track sound punchier and more polished. Compression also adds depth and presence to your mix, helping it stand out on different playback systems.
– Limiting: Limiting is a type of dynamic range compression that focuses on preventing audio levels from exceeding a certain threshold. It ensures that your track doesn’t clip or distort when played at high volumes, while also increasing overall loudness. This makes your song sound more competitive and impactful, especially in a crowded music market.


– Stereo Imaging: Stereo imaging allows you to control the placement and width of sounds within the stereo field. By adjusting the stereo image, you can create a sense of space and dimension in your mix, making it sound wider and more immersive. This is particularly useful for enhancing the stereo separation of instruments and vocals, adding depth to your music.
– Dithering: Dithering is a process used when converting audio from a higher bit depth to a lower bit depth, such as when preparing your final master for distribution. It adds a small amount of noise to the audio signal, which helps minimize distortion and quantization errors, resulting in a smoother and more natural sound.

2. INVEST IN QUALITY TOOLS: While there are plenty of mastering plugins and software out there, invest in ones that suit your style and budget. Whether it’s Izotope Ozone, Waves, or FabFilter, find the tools that work best for you.
3. LEARN THE BASICS: Mastering isn’t just about cranking up the volume and adding some EQ. Take the time to learn about compression, EQ, stereo imaging, and other mastering techniques. There are tons of tutorials and online courses available to help you master the craft.
4. TRUST YOUR EARS: Ultimately, mastering is a subjective art. Don’t be afraid to trust your instincts and experiment with different settings until you find what sounds right to you.
5. CONSIDER OUTSOURCING: If mastering feels overwhelming or you’re not getting the results you want, consider outsourcing to a professional mastering engineer. They have the expertise and equipment to take your music to the next level.
6. PRACTICE CONTINOUSLY: Like any skill, mastering takes time and dedication to master. Commit to regular practice, experimentation, and refinement of your techniques. Embrace the learning process, and don’t be afraid to make mistakes along the way. With persistence and perseverance, you’ll gradually improve and deliver outstanding results.
4. five MISTAKES TO AVOID WHEN STARTING TO MASTER TRACKS

Now that you’re ready to go into mastering, here are five common mistakes to steer clear of:
- Over-Compression: It’s tempting to squash the dynamics of your track to make it sound louder, but too much compression can suck the life out of your music. Use compression sparingly and remember that dynamics are your friend.
- Ignoring the Room: The acoustics of your listening environment can have a big impact on how your master sounds. Try to master in a properly treated room or use reference tracks to compensate for any shortcomings.
- Relying Too Much on Presets: While presets can be a helpful starting point, don’t rely on them blindly. Every track is unique, so take the time to tweak and customize settings to fit your song.
- Neglecting the Mix: Mastering can’t fix a bad mix. Before you dive into mastering, make sure your mix is as good as it can be. Pay attention to levels, panning, and EQ to ensure each element sits well in the mix.
- Not Taking Breaks: Mastering can be a tedious process, and it’s easy to get fatigued after hours of tweaking settings. Take regular breaks to give your ears—and your brain—a rest. You’ll come back with a fresh perspective and make better decisions.
So there you have it—a beginner’s guide to mastering your songs. Remember, mastering is as much an art as it is a science, so don’t be afraid to experiment, trust your ears, and most importantly, have fun with it! Who knows, you might just discover a whole new dimension to your music that you never knew existed. Happy mastering!


Leave a Reply